INSTALL & SETUP
GENERAL INSTALLATION INSTRUCTIONS
Before starting the installation, please read all instructions carefully to ensure a correct and safe process. If you have any doubts, consult the manufacturer or a professional.
Ensure that the suspension set you have received is the correct model for your specific vehicle and intended application. Before starting the installation process, compare the part numbers, specifications, and components included in the kit with the details provided in your order confirmation and the manufacturer’s documentation. Using an incorrect set may result in improper fitment, reduced performance, or potential safety hazards. If you are uncertain about compatibility, contact your supplier or the manufacturer before proceeding.
TORQUE SPECS
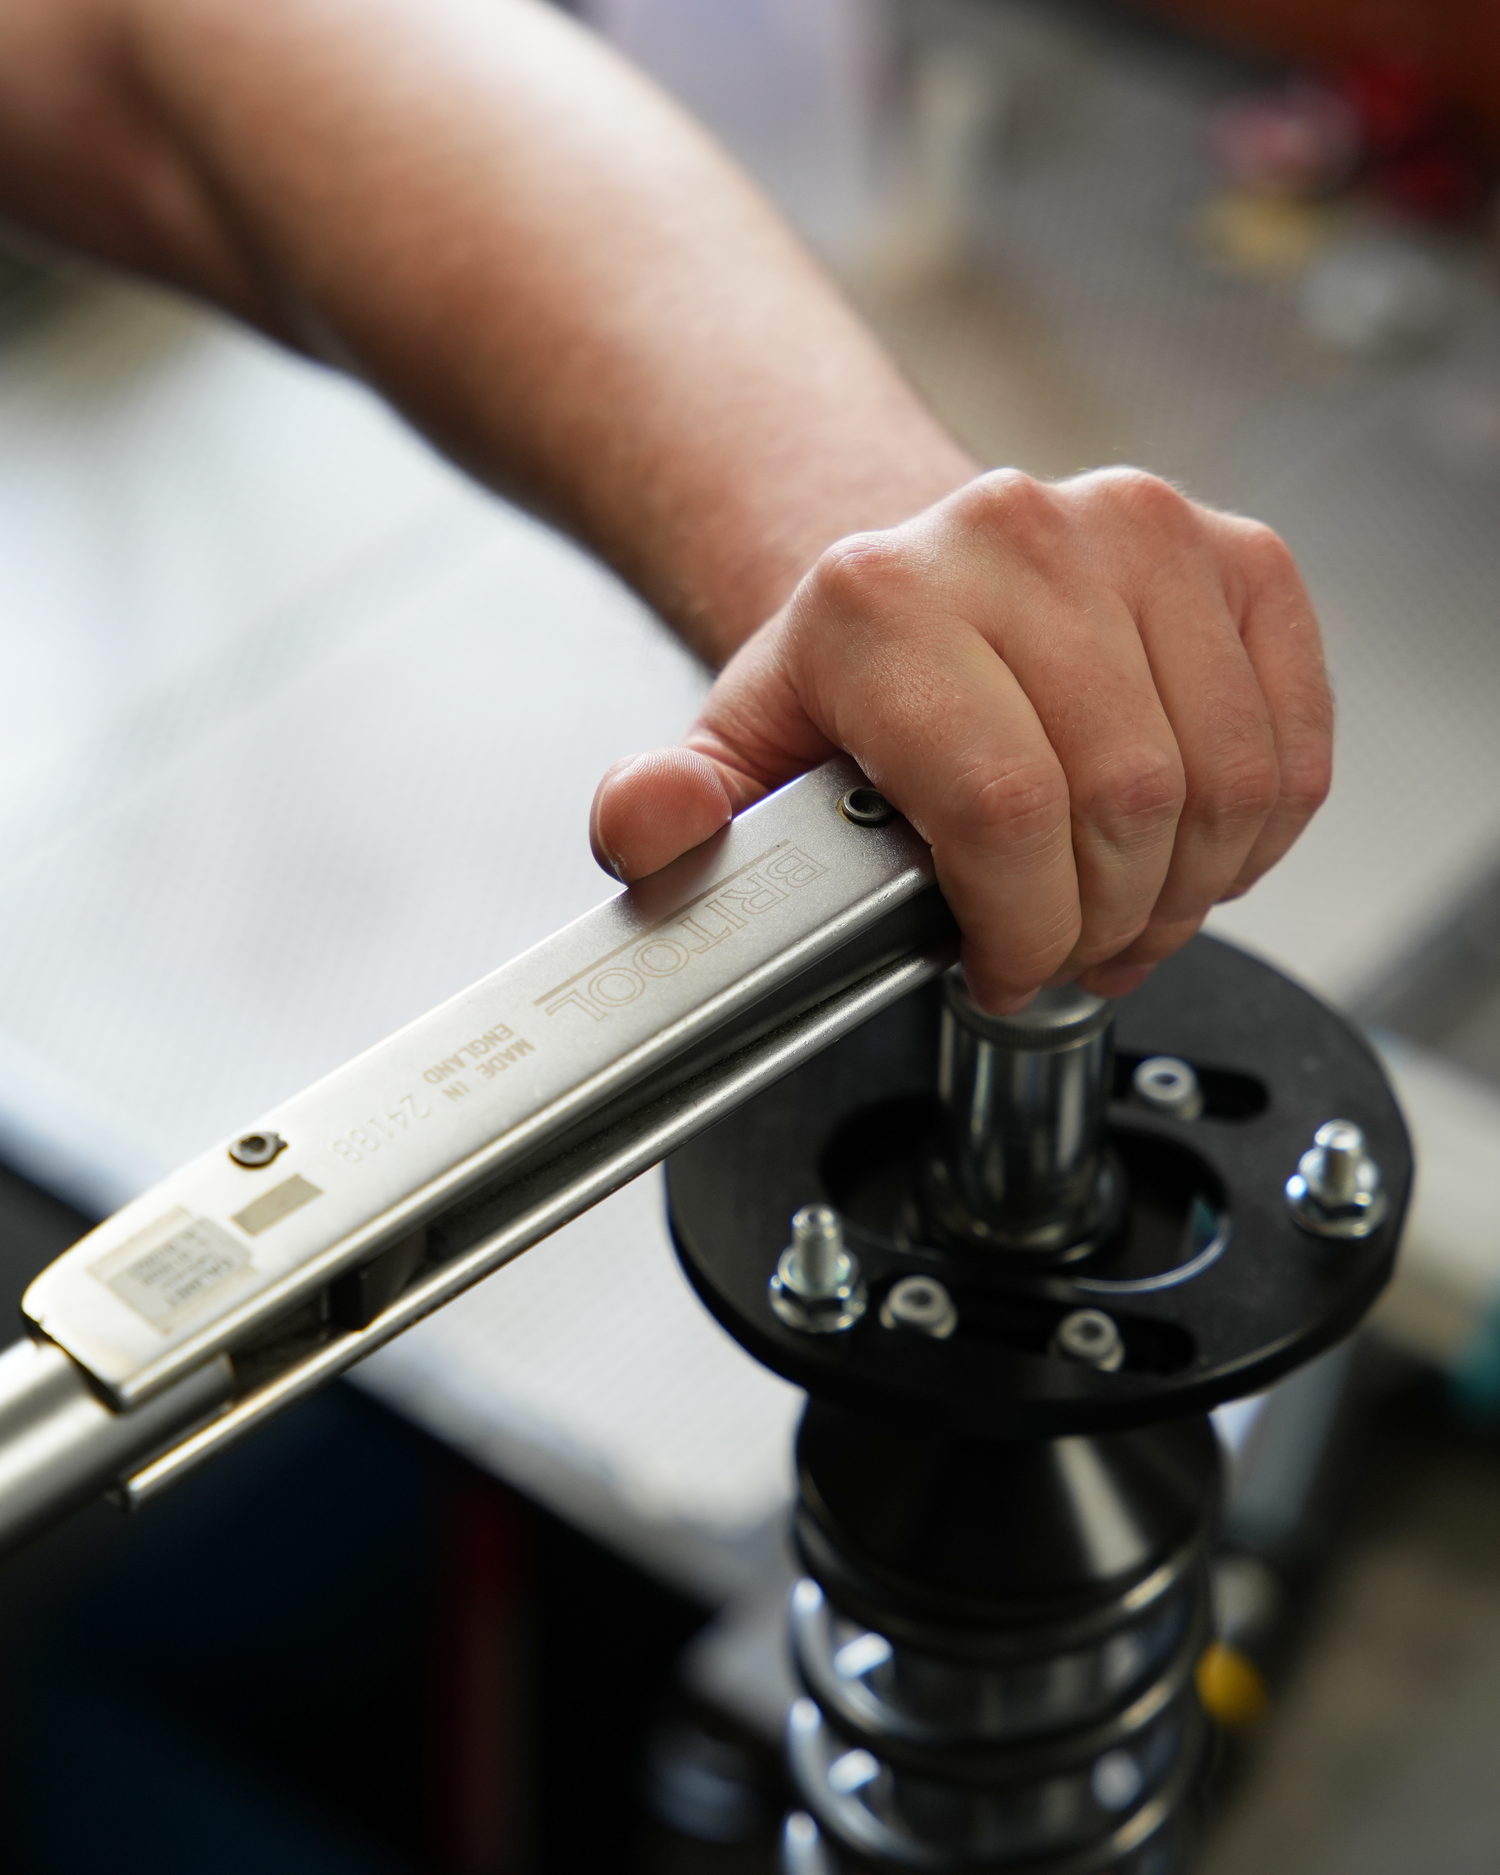
Using the correct torque specs is essential for safety and performance. Proper torque ensures fasteners are secure without damaging parts. Too loose can cause failure; too tight can damage components. Always follow the manufacturer’s specs and use a torque wrench. Click the button below for our torque specs or a video explaining our torque specifications.
SET RIDE HEIGHT
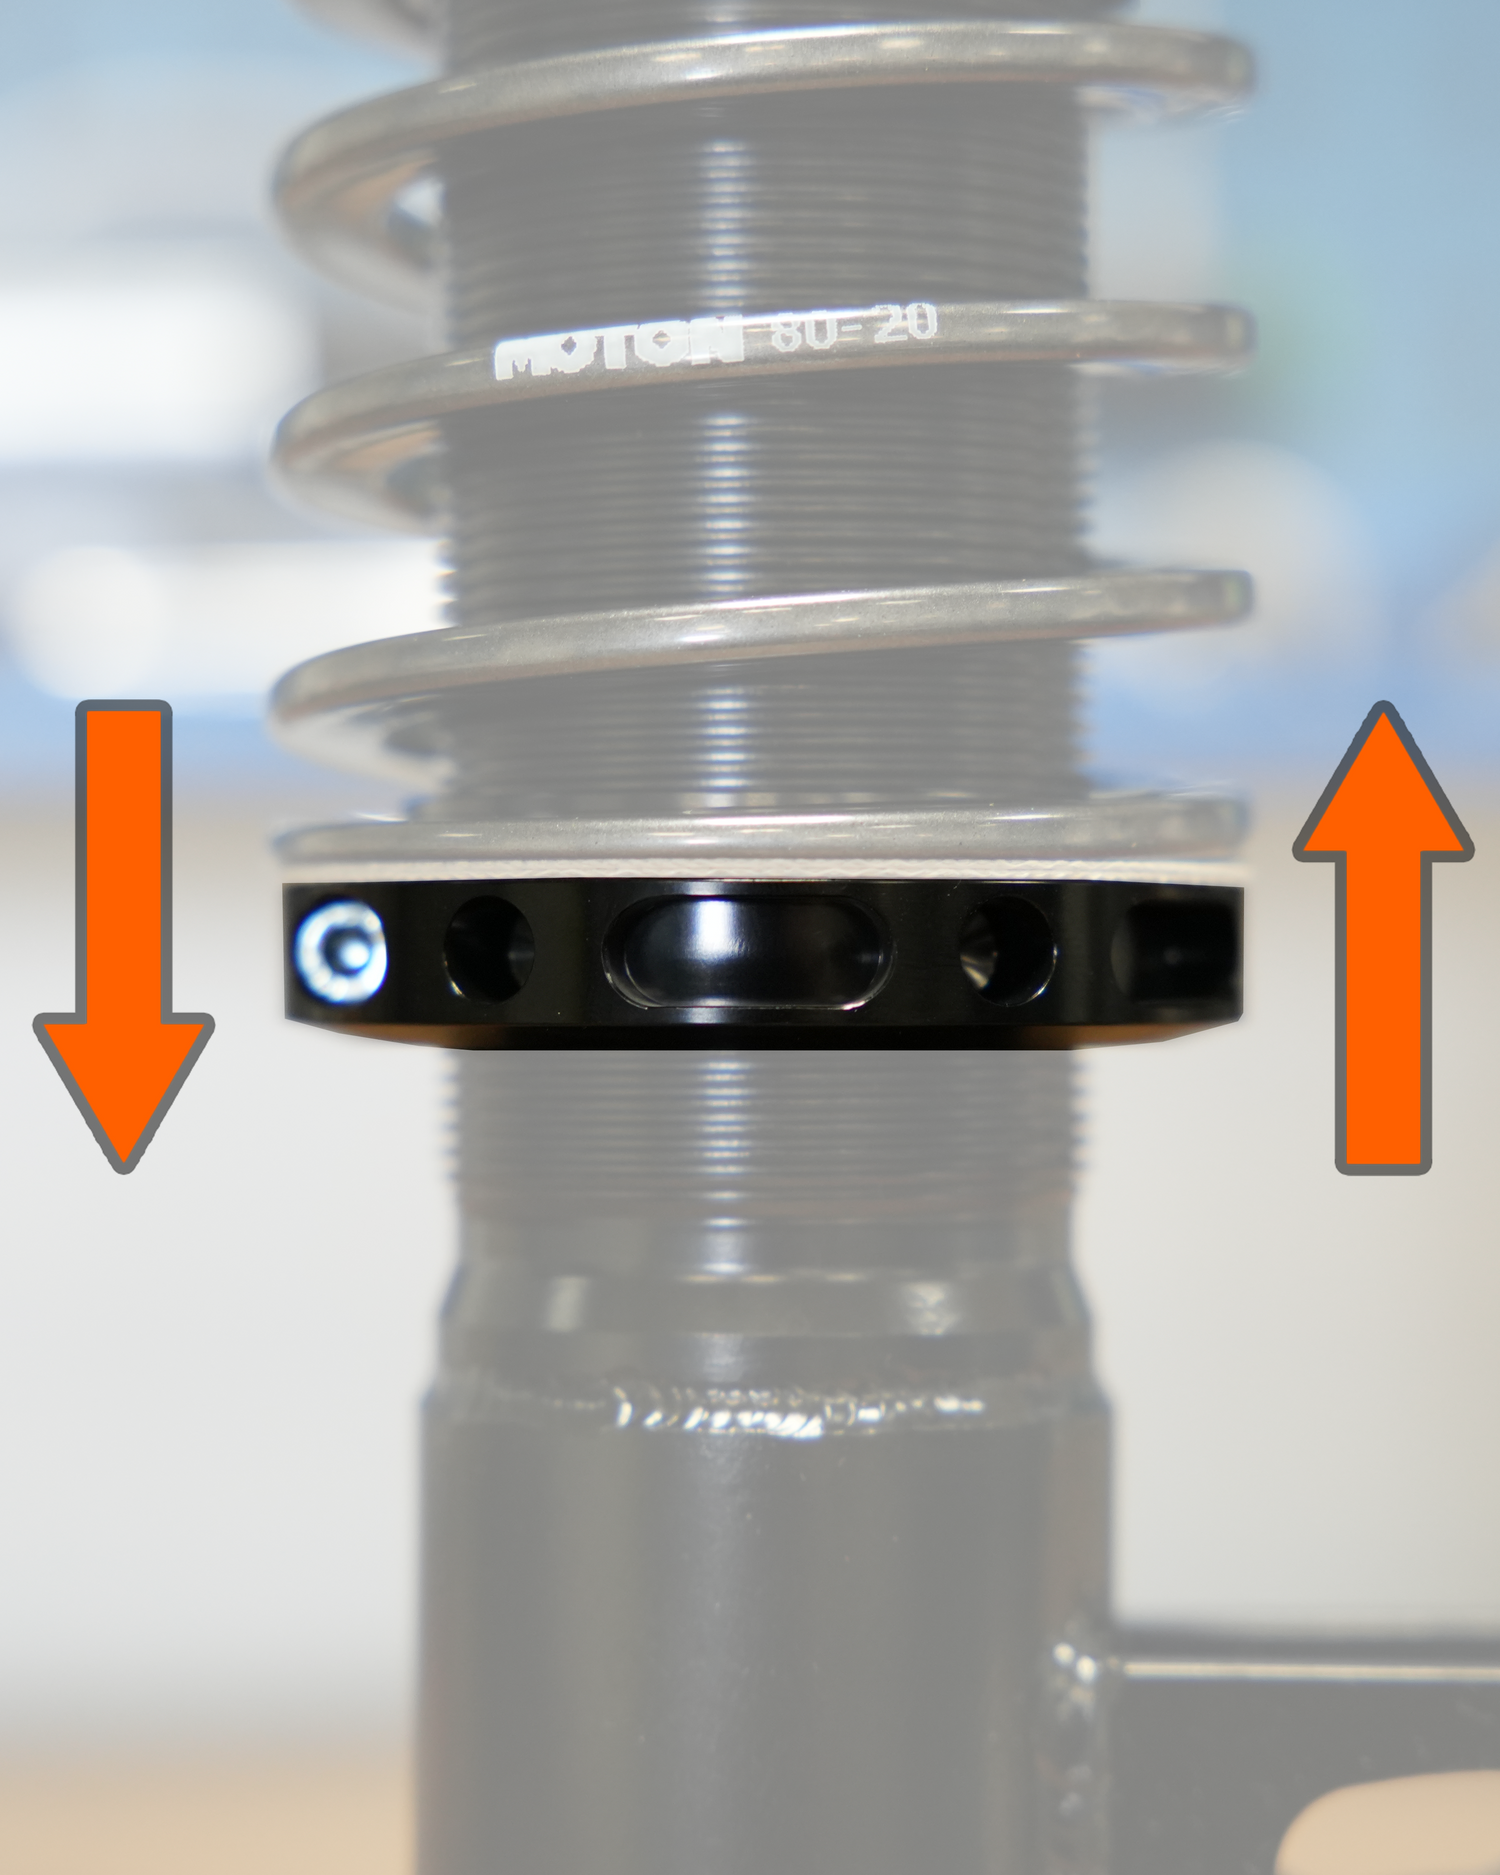
Before lowering the vehicle to the ground, make sure to apply preload to the springs. Our kits are delivered without any preload set. By turning the preload ring upwards, you increase the spring preload, which in turn adjusts the ride height.
Ensure that the preload is set high enough before the vehicle is placed on the ground for the first time. This allows you to measure the initial ride height accurately and then reduce the preload as needed to achieve the correct final ride height.
DO NOT OVERTIGHTEN!
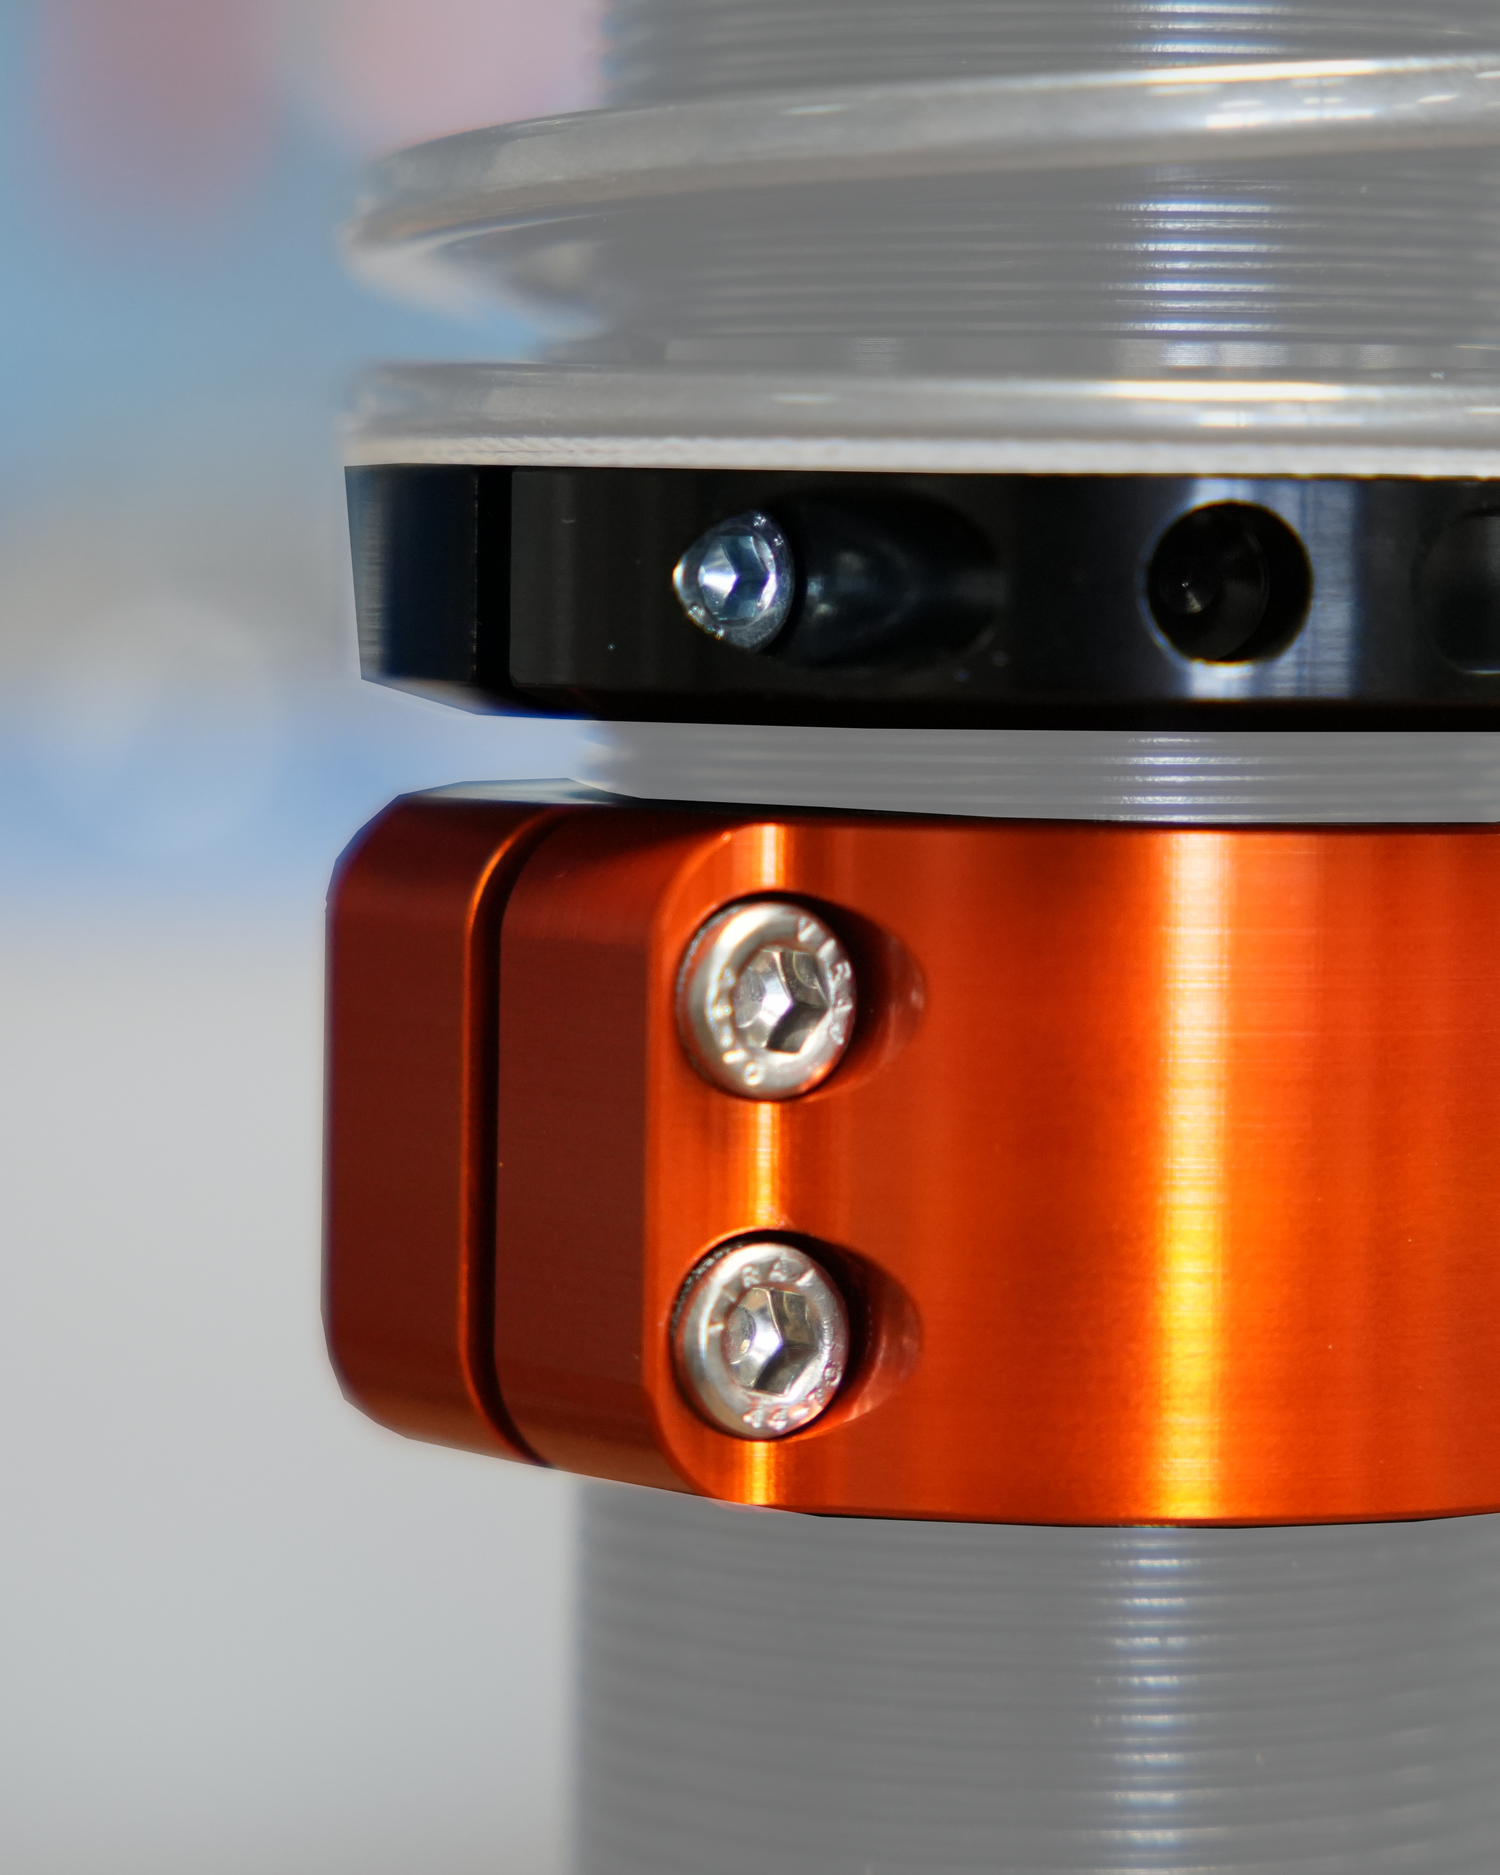
It is extremely important to tighten both the spring platform and the anti-roll bar bracket (if installed) according to the specified torque values. Applying excessive torque when fastening these components can compress or deform the damper cylinder, which may lead to internal damage and negatively affect the performance and lifespan of the suspension. Always use a calibrated torque wrench and follow the manufacturer’s recommended torque settings to ensure proper installation and avoid costly repairs.
CHECK FOR CLEARANCE
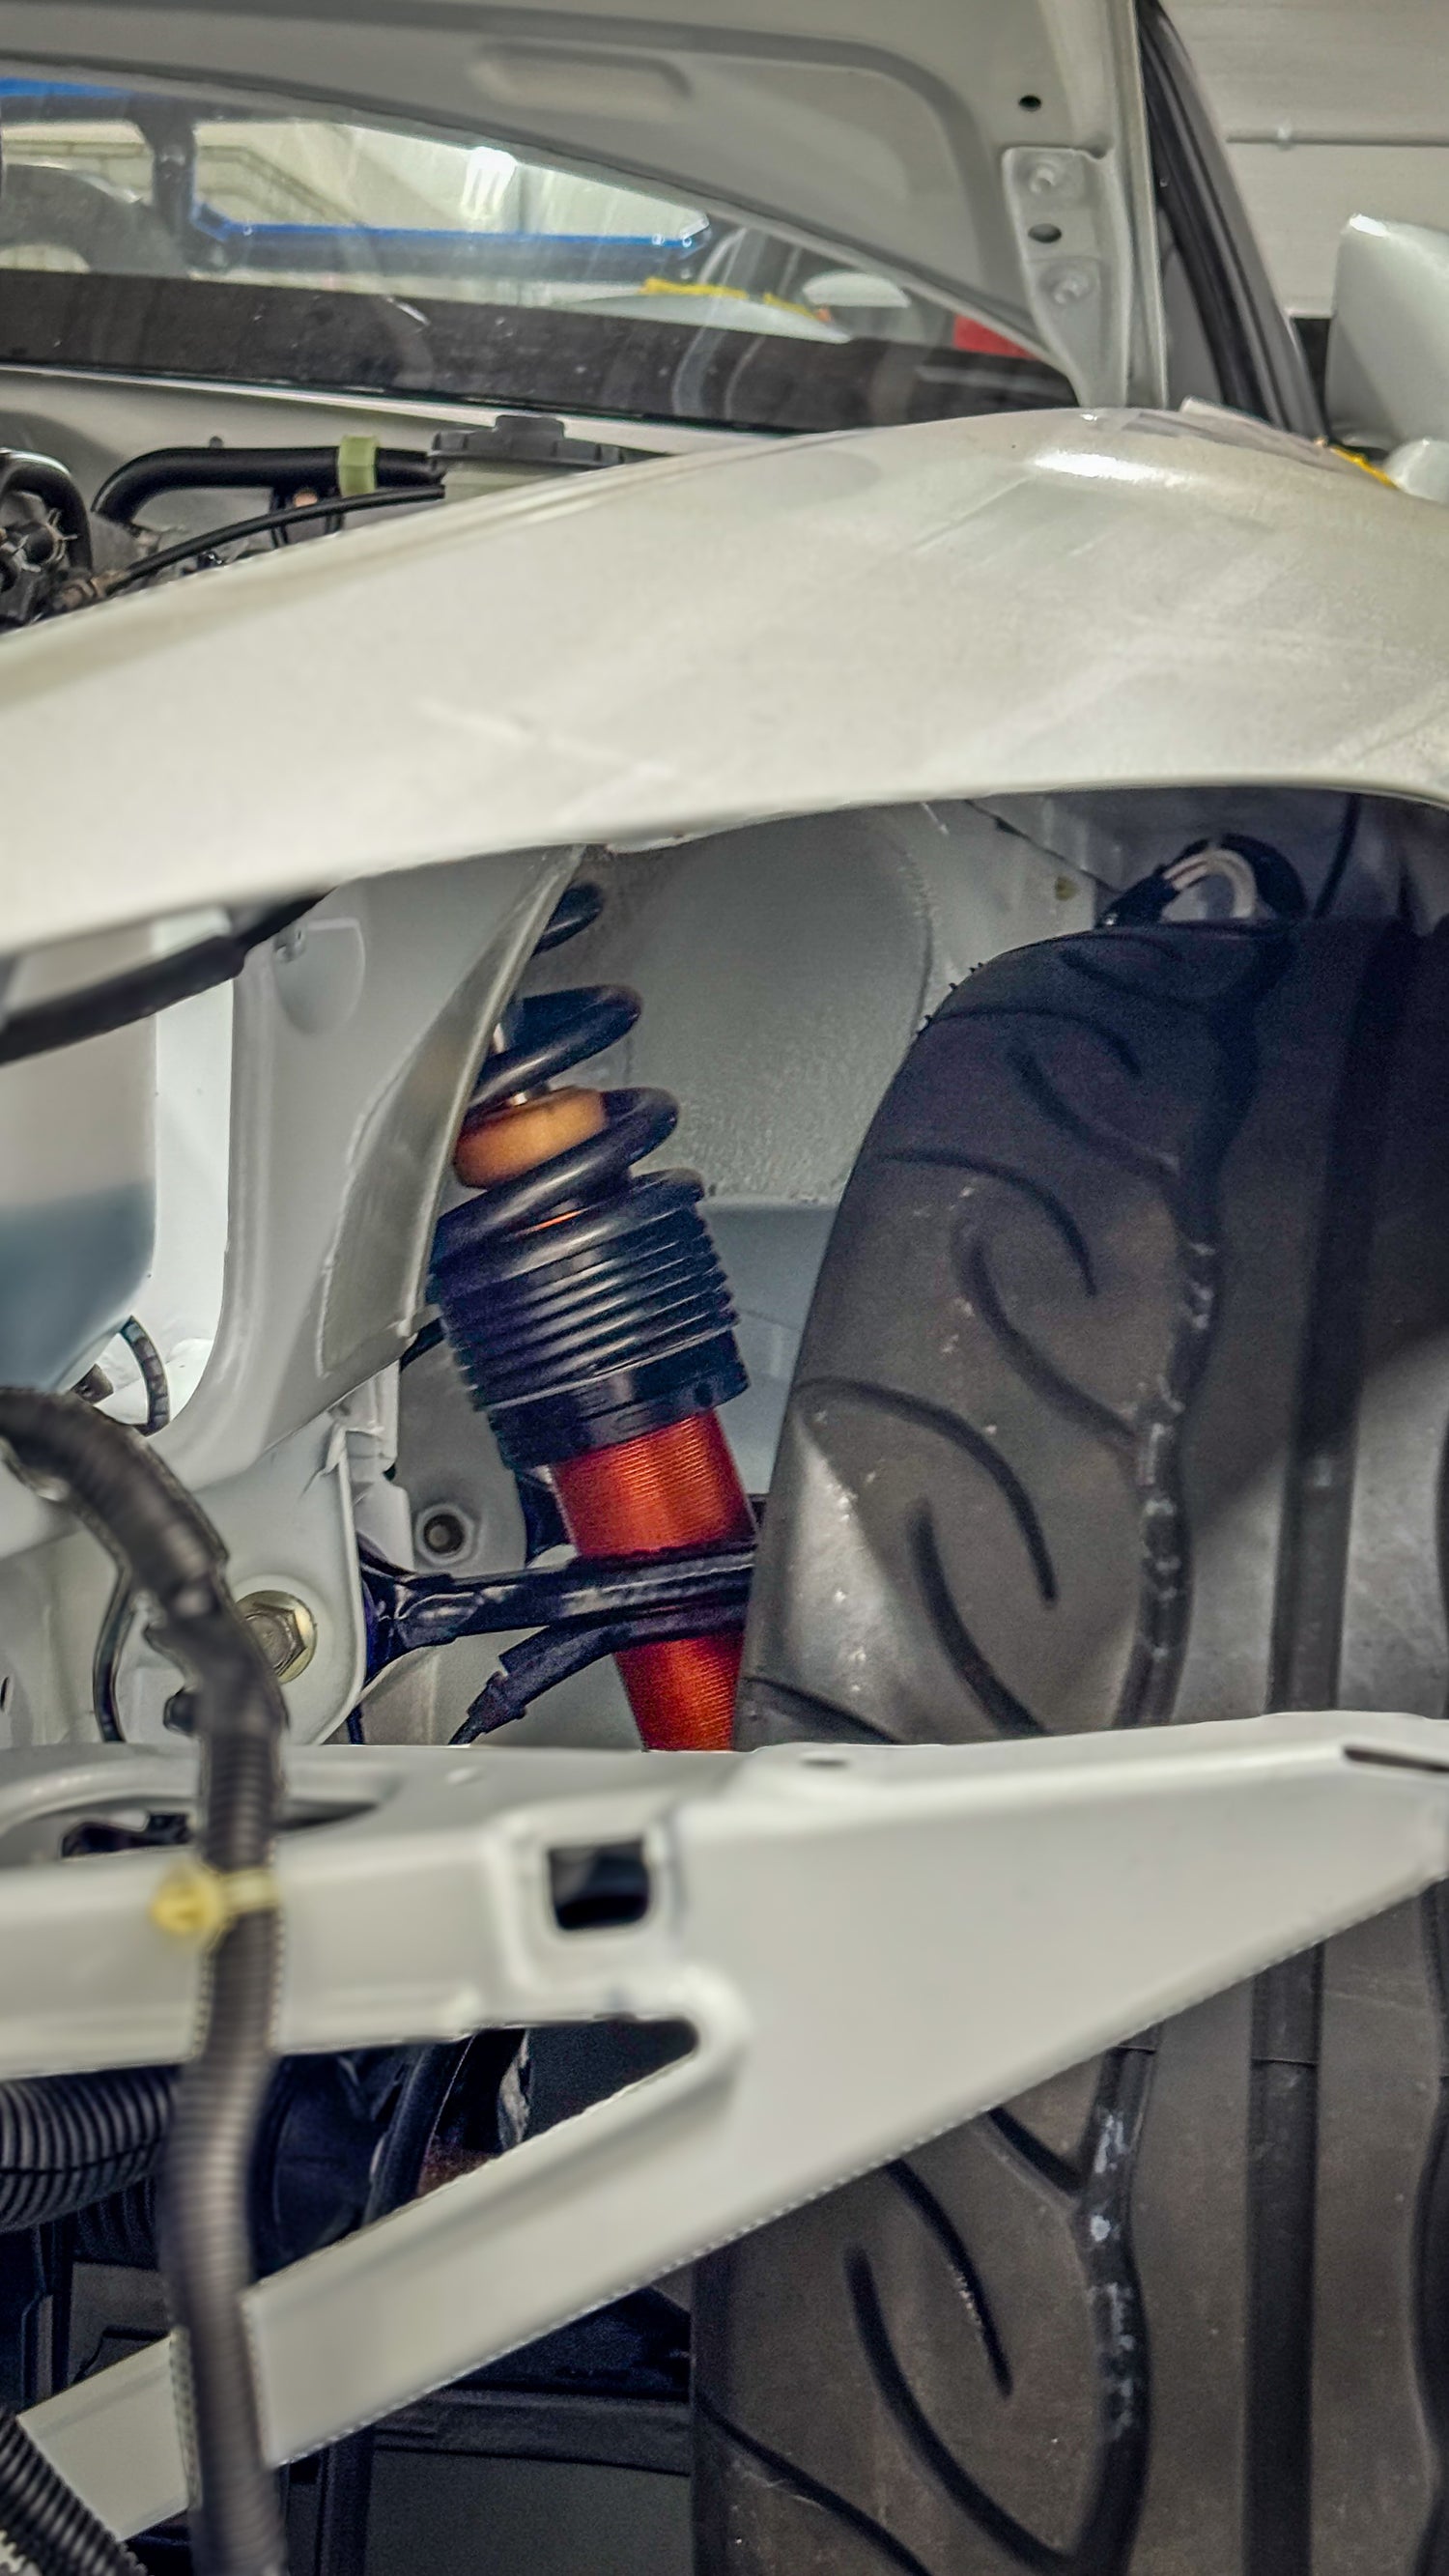
Before lowering the vehicle to the ground, carefully verify that the wheel fits properly. In some cases, especially with OEM wheels, you may need to use a spacer to ensure that the wheel does not come into contact with the shock absorber, spring, or any of the mounting brackets. It is crucial to maintain a minimum clearance of at least 5 mm between the wheel (rim and tire) and the shock absorber at all times.
Additionally, check for clearance while turning the steering wheel. Make sure that no components are making contact or getting pinched during steering movement. This will help prevent damage to suspension parts and avoid any potential safety issues while driving.
If you are unsure whether there is sufficient clearance or if any parts may be making contact, do not drive the vehicle. Driving under uncertain conditions increases the risk of damage to your suspension, wheels, or other components, and may compromise your safety. Always double-check and resolve any clearance issues before operating the vehicle.
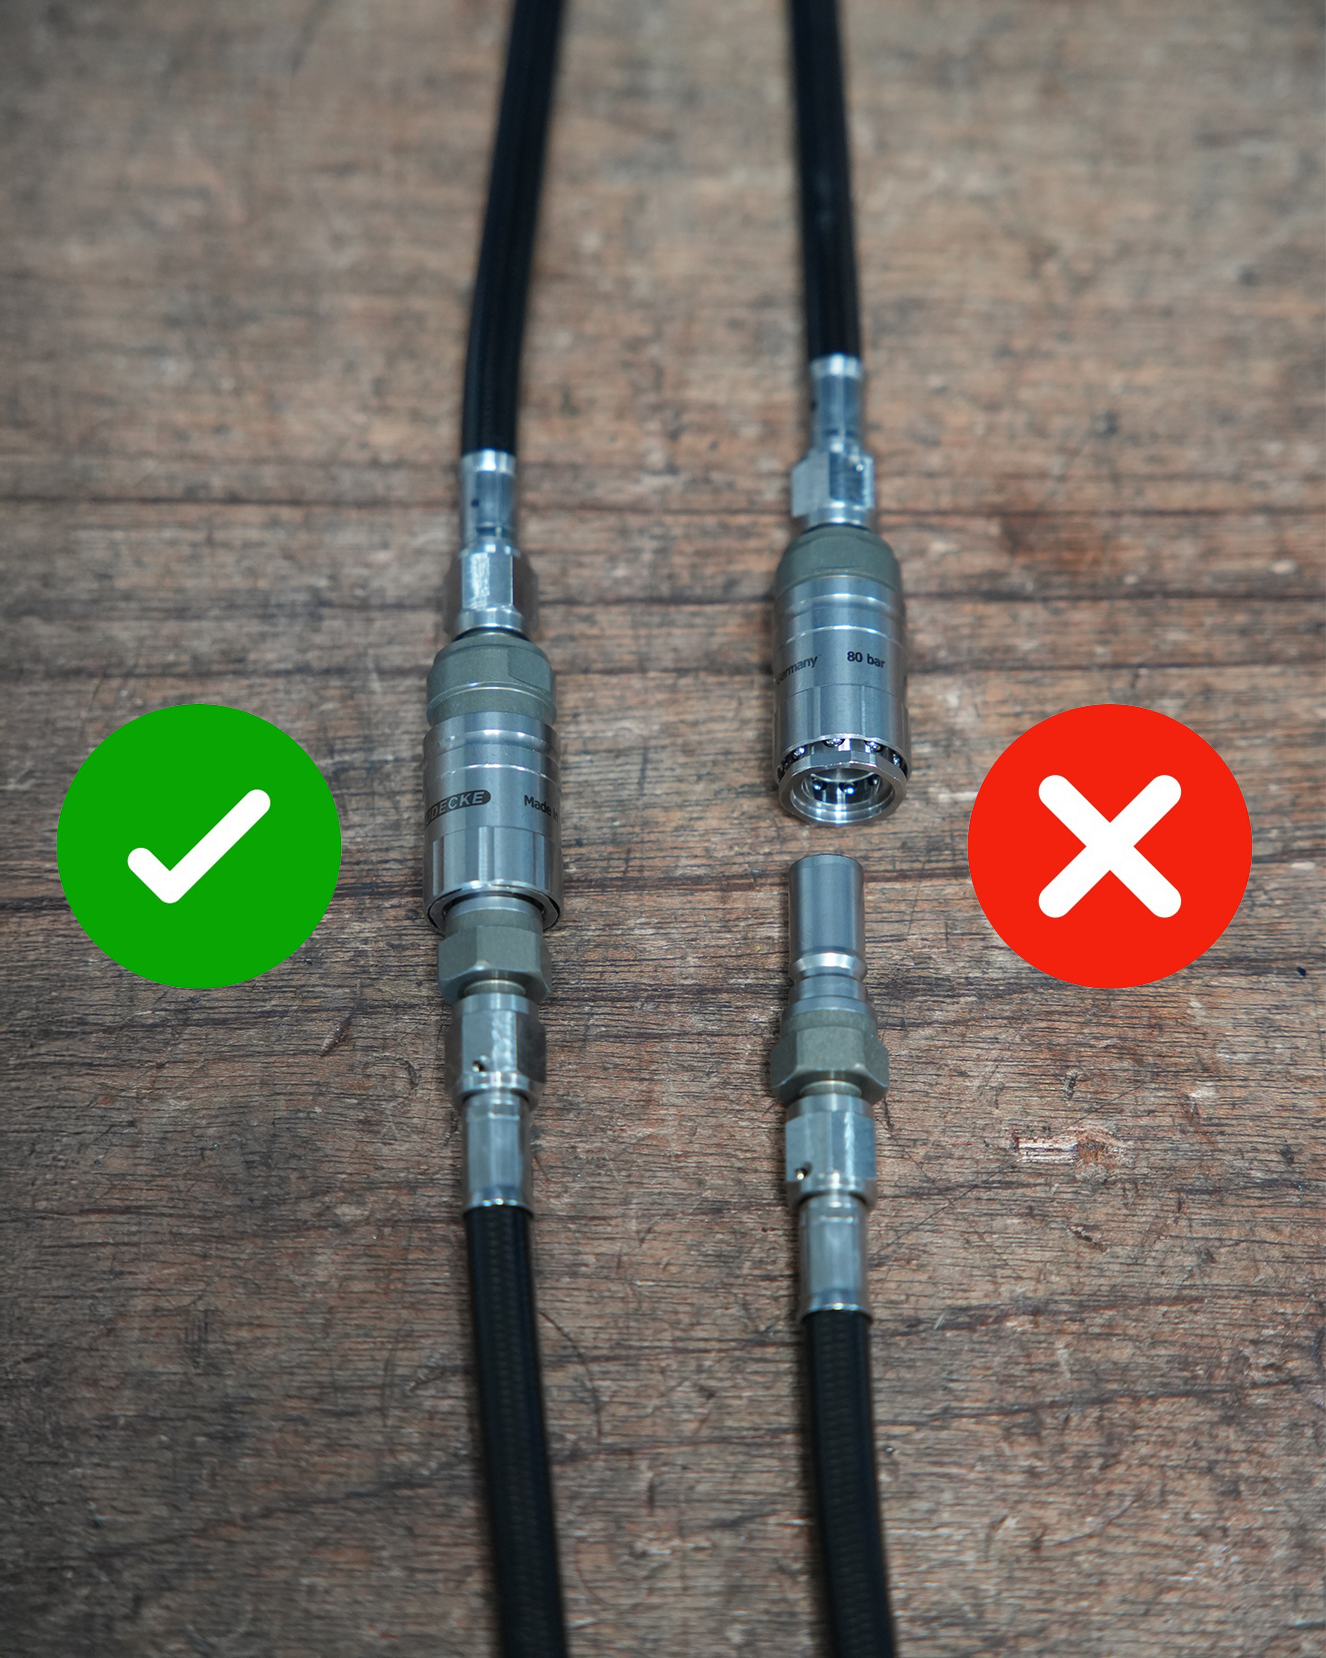
CONNECT YOUR QUICK DISCONNECTS!
Never lower the vehicle to the ground with the Quick Disconnects disconnected, if your setup includes them. When the Quick Disconnects are not connected, the fluid inside the shock absorber has no place to flow. Lowering the vehicle in this condition can cause excessive pressure inside the damper, potentially damaging seals and other internal components.
Always ensure that all Quick Disconnects are fully connected and secured before setting the vehicle back down. This will help prevent costly damage and ensure the suspension system functions correctly.
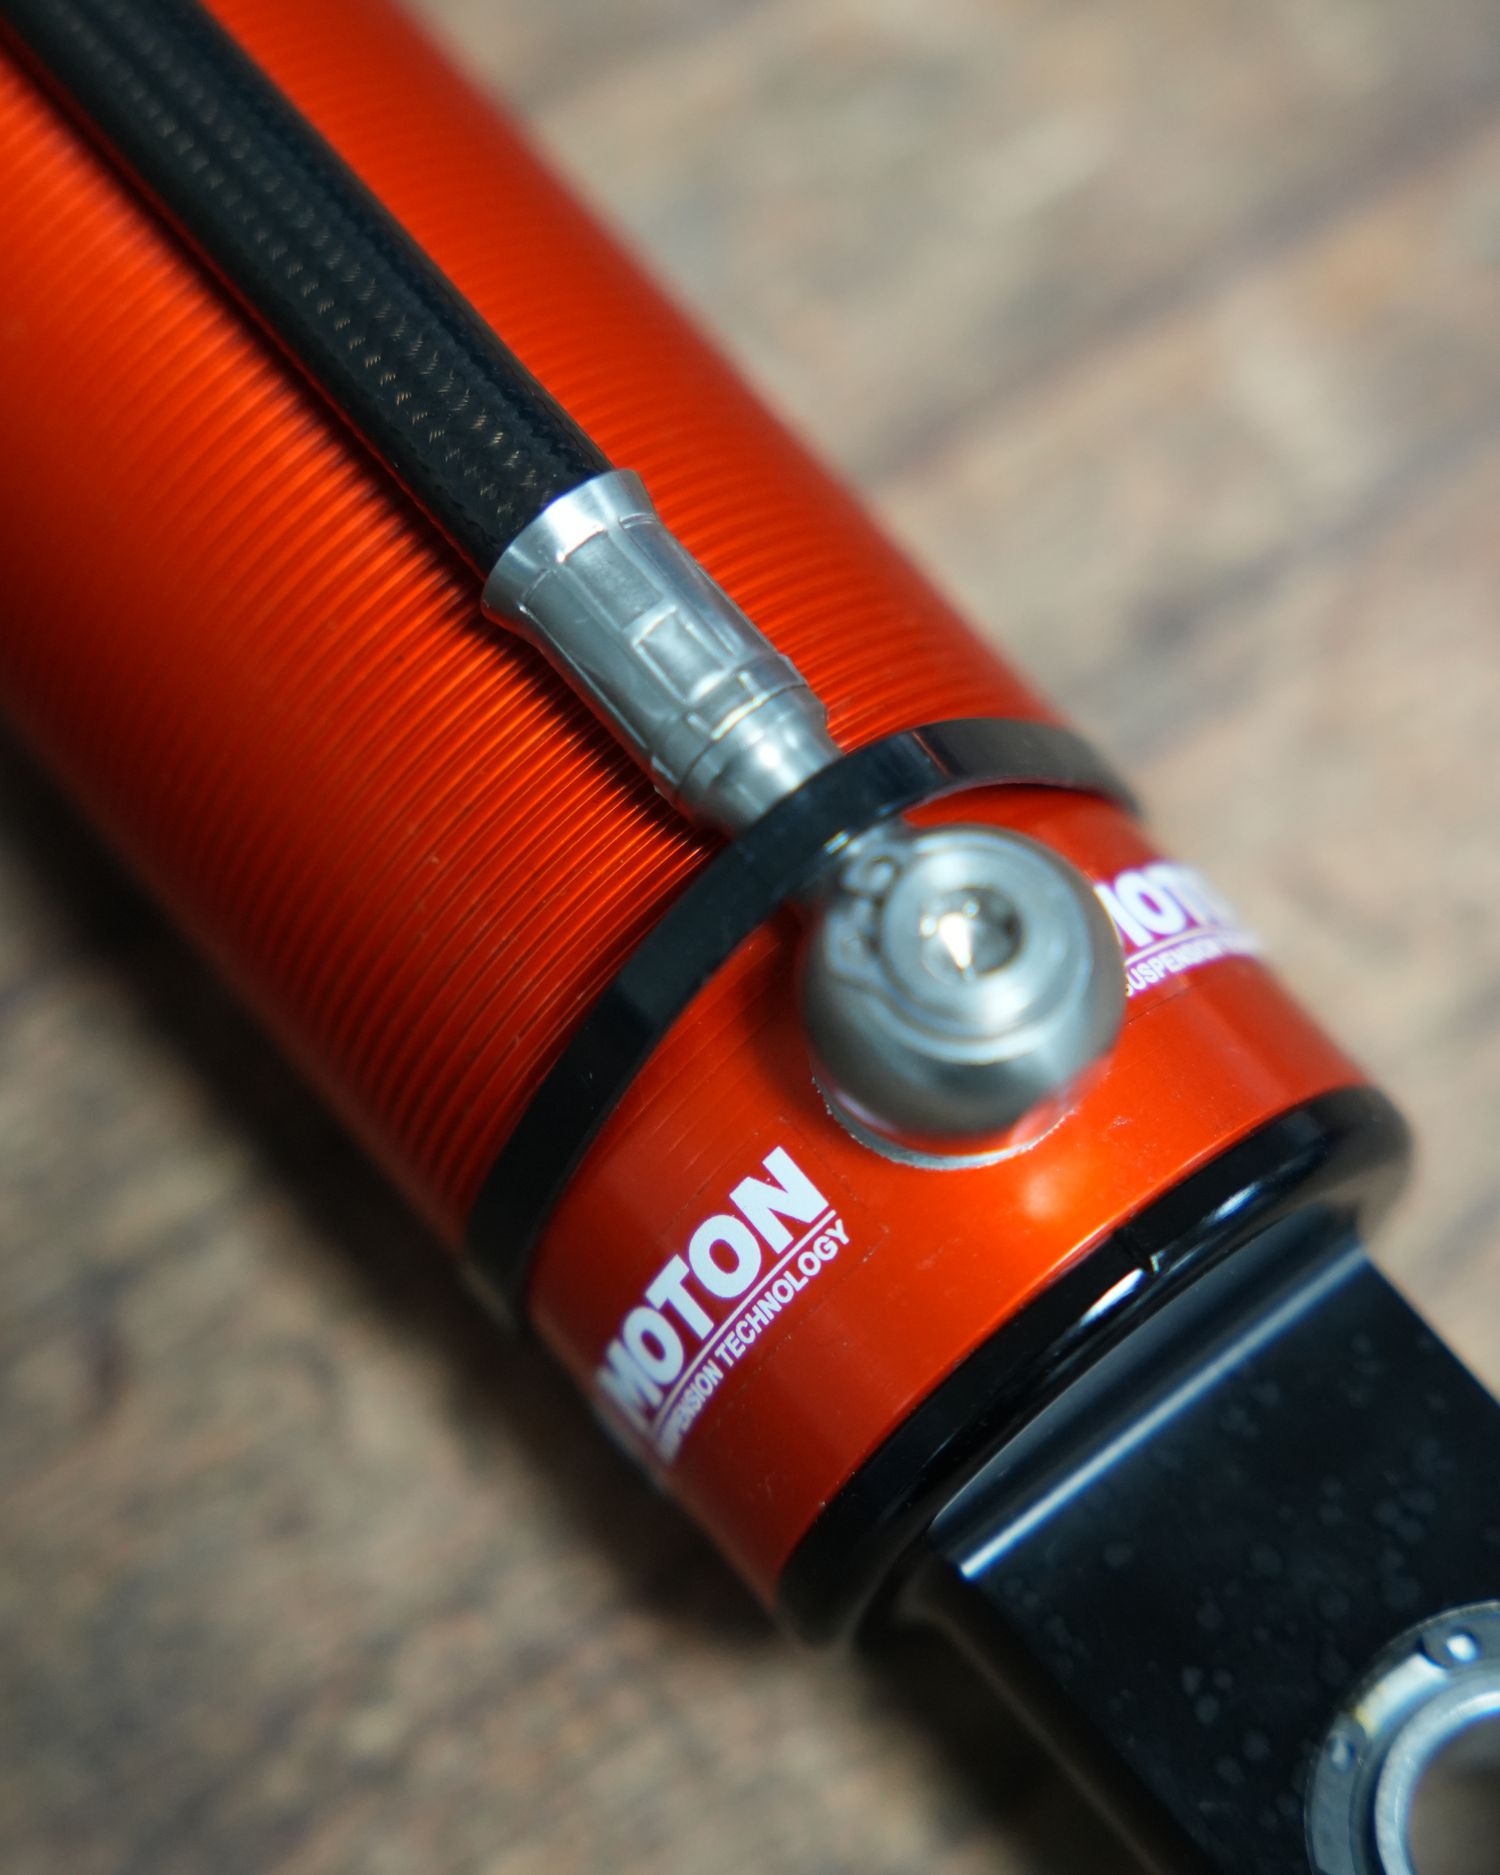
FIX AND CHECK HOSES
When installing suspension kits with an external reservoir, carefully inspect the routing of the hose leading to the reservoir. Ensure that the hose is not pinched between components and does not rub against any surfaces, as this could lead to premature wear or damage.
Keep in mind that the hose must be able to move freely as the suspension compresses and extends, and during steering if applicable. To reduce stress and movement at the connection point, it is recommended to secure the hose where it attaches to the shock absorber’s banjo bolt—using a cable tie or similar fastener. This helps prevent the banjo fitting from rotating and improves the overall service life of the component.
NOTES
-
> The shock absorber may have light oil or assembly grease from production. Clean all surfaces before installation.
-
> Make sure the vehicle is lifted safely and securely, either on a certified workshop lift or with properly positioned jack stands. Never work under a vehicle supported only by a jack.
-
> Clean the vehicle thoroughly before starting the installation to remove dirt, grease, and debris from the working areas. This helps ensure proper fitment and prevents contamination of components.
-
> Always use the correct tools specified for removal and installation to avoid damaging components and ensure a safe, proper fit.
-
> Do not use impact tools to tighten nuts on the piston rods. Avoid contact between the piston rod and any sharp or hard tools to prevent damage. Any damage caused by improper handling will not be covered under warranty.
-
> Remove the struts following the specific procedures outlined in the vehicle manufacturer’s instructions. Always refer to the official service manual to ensure safe and correct removal.
-
> Do not overtighten the spring platform or the anti-roll bar bracket. Excessive tightening can compress and deform the damper cylinder, leading to damage and impaired performance. Tighten only to the specified torque values.
-
> Check for sufficient clearance to ensure the wheel fits properly without contacting the damper. In some cases, especially when using OEM wheels, spacers may be required to achieve the correct fitment.
-
> For sets equipped with our Quick Disconnects, always connect the reservoir to the damper before lowering the vehicle to the ground. Failing to do so can cause serious damage to the suspension components.
-
> Our sets come without any preload applied. Be sure to set sufficient preload on the spring before lowering the vehicle to the ground.
-
> When routing the hoses, ensure they do not kink or rub against any moving parts. To prevent the banjo bolt from rotating continuously, you can secure the hose to the damper using a clamp or a tie-wrap.
-
